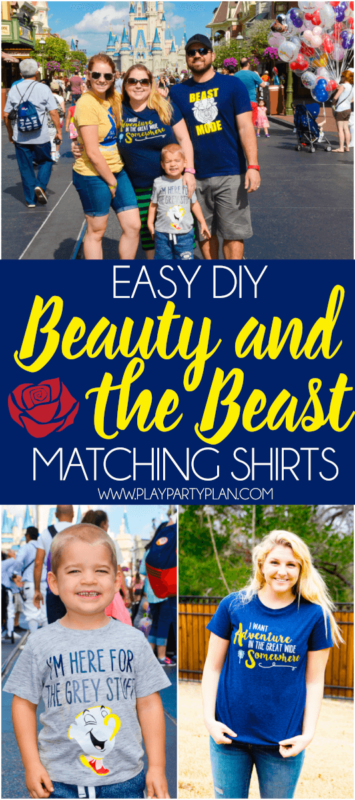
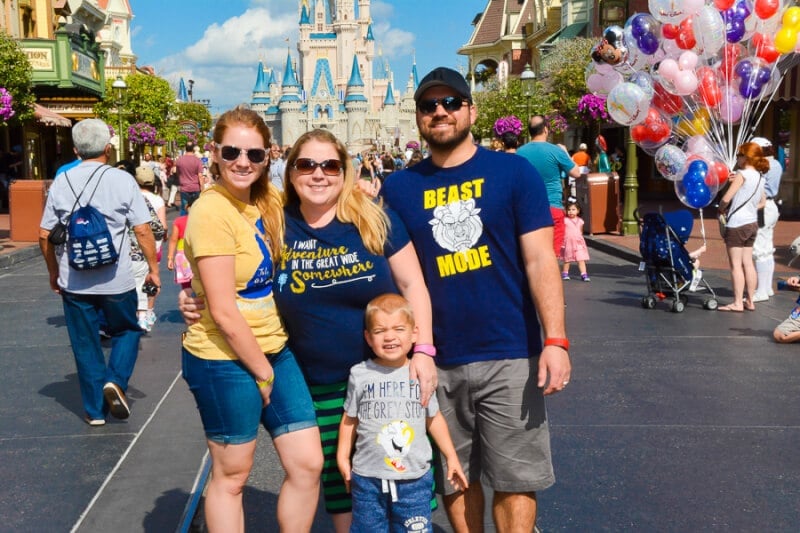
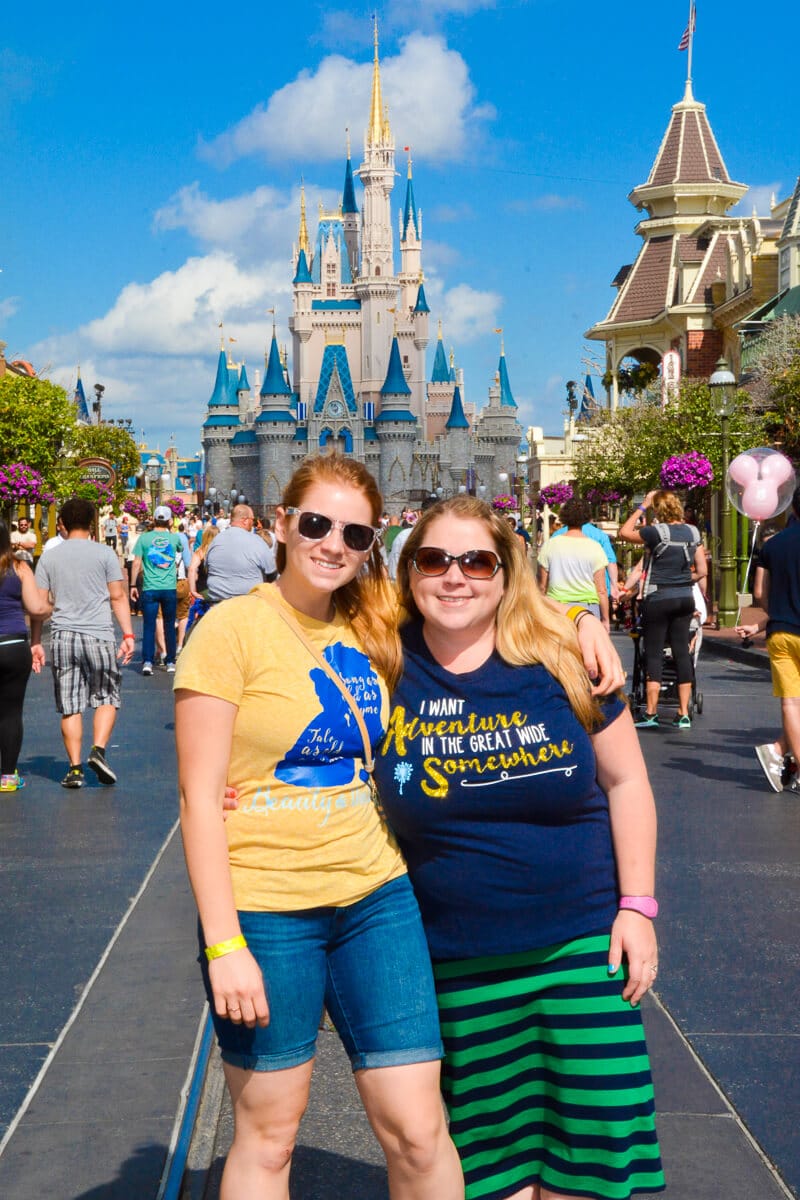
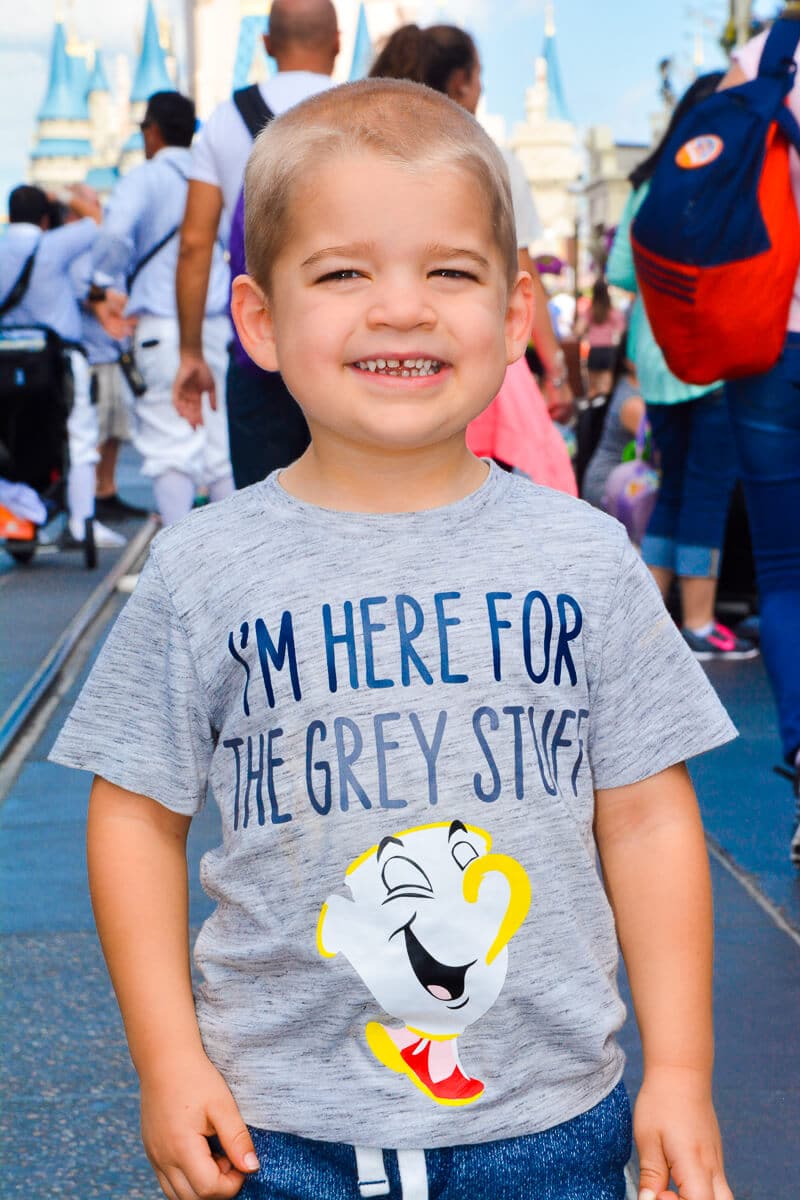
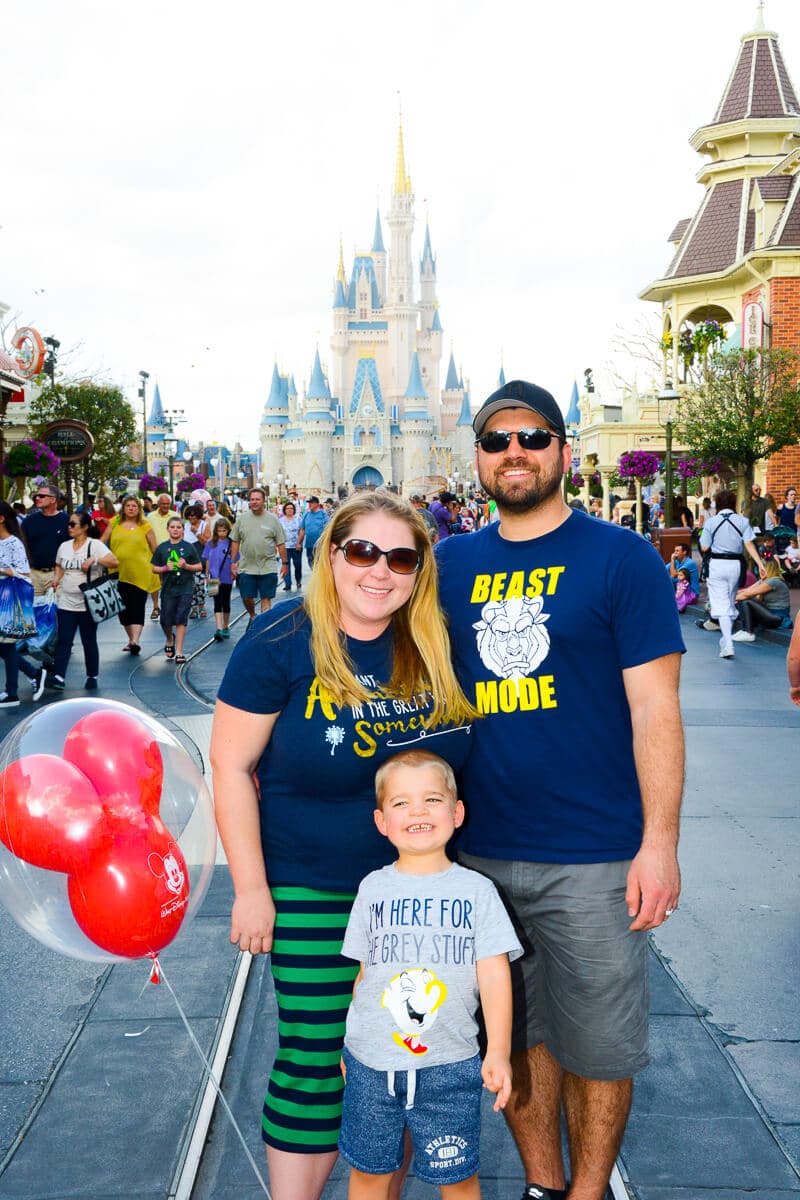
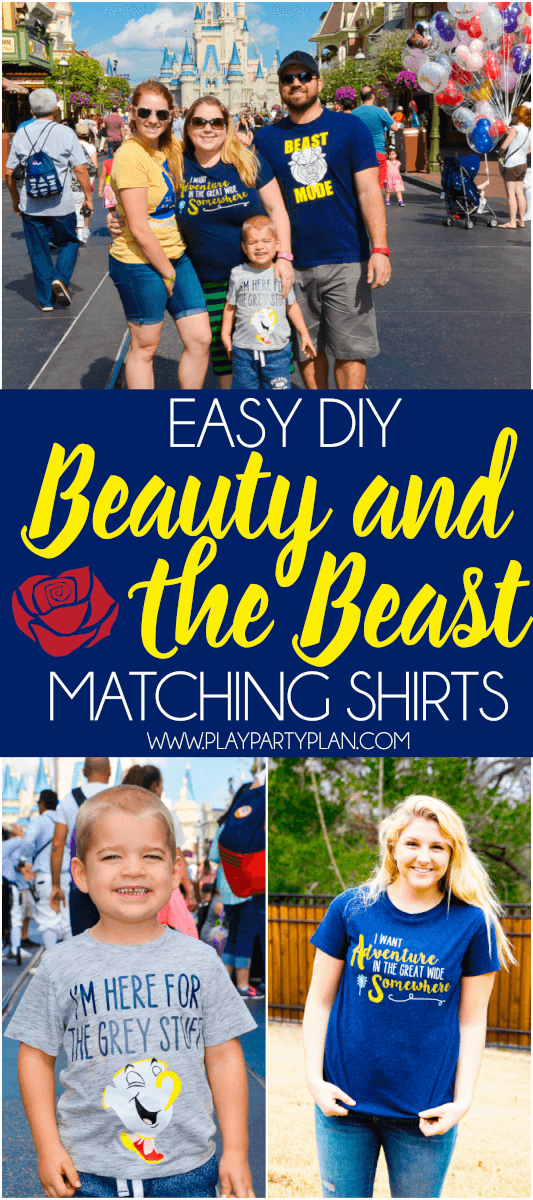
One of my favorite things to do for Disney vacations is to DIY shirts, like last year’s matching Lion King shirts. This year was no different with a Beauty and the Beast themed day, a Moana themed day, Star Wars, Marvel, and you get the picture. But out of all of them, I think the DIY shirts I made for Beauty and the Beast were my favorite. And they’d make super fun Beauty and the Beast gifts for lovers of the movie! I love Beauty and the Beast and have already seen the brand new movie (opening night!). One of my favorite changes they made was subtle changes to the dialogue in the movie to modernize it without departing from the original storyline. And I love Emma Watson as Belle even more now. I won’t spoil anything else for you, just know the movie was so good! And make sure to keep going after the Beauty and the Beast shirts to find all sorts of awesome Beauty and the Beast ideas below – cupcakes, shirts, cakes, ad more!
Beauty and Beast DIY Shirts
I mentioned it last month, but I recently received a new Cricut Explore Air and supplies for free, and I love it. After making 16 custom t-shirts for our Disney World trip, I love it even more. Even with custom layered designs, switching back and forth from glitter to regular heat transfer vinyl, and learning to navigate my way through the Cricut Design Space, the machine cut like butter every single time. After my previous experiences with cutting vinyl on another machine, you have no idea how excited that makes me. Before I’d literally have to stand by my machine, hold it in to make sure it calibrated and pulled through correctly, and then half the time the blade still wouldn’t cut correctly. I probably had a faulty machine or something but oh my goodness, the Cricut Explore Air makes me actually want to designs shirts and projects again. Like these fun DIY shirts I made.
Supplies for Beauty and Beast DIY Shirts
Cricut Explore AirCricut Glitter Iron-OnCricut Iron-On Lite (vinyl) Cricut WeederCricut Scissors Cricut 12×12 standard cutting mat IronSmall linen cloth or piece of fabric T-Shirts Beast Mode SVG file (optional) Chip SVG file (optional) Cricut Access Membership
How to Make These Beauty and Beast DIY Shirts
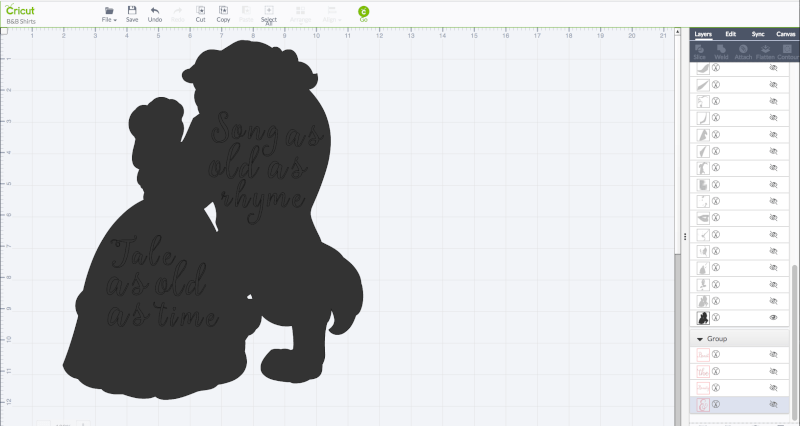
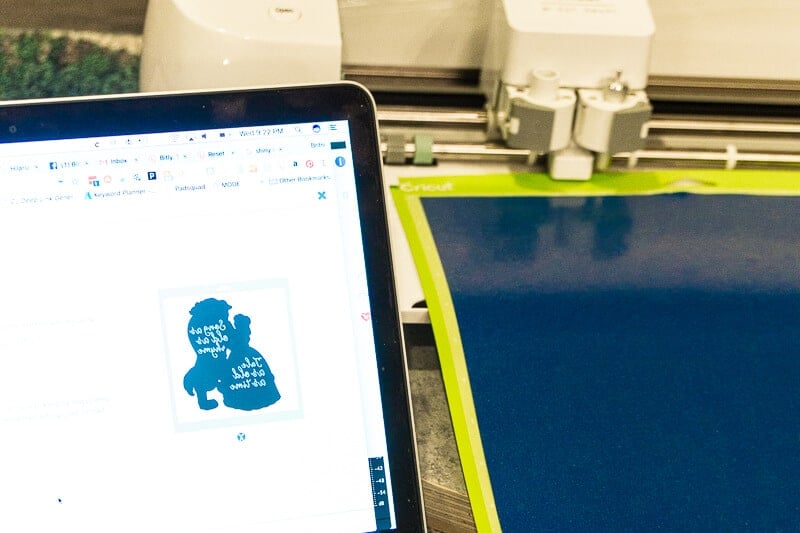
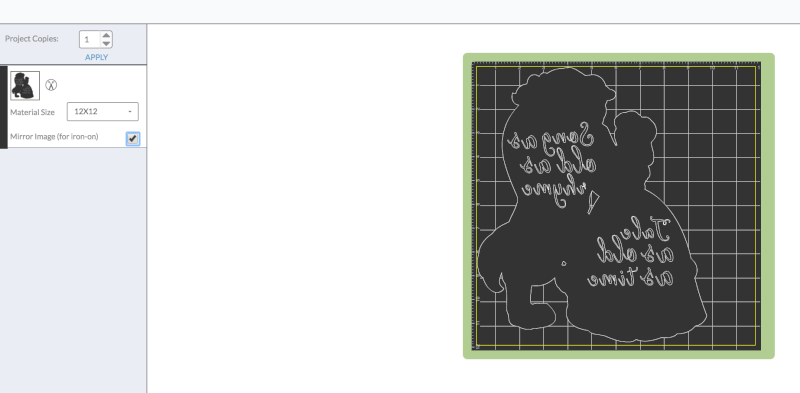
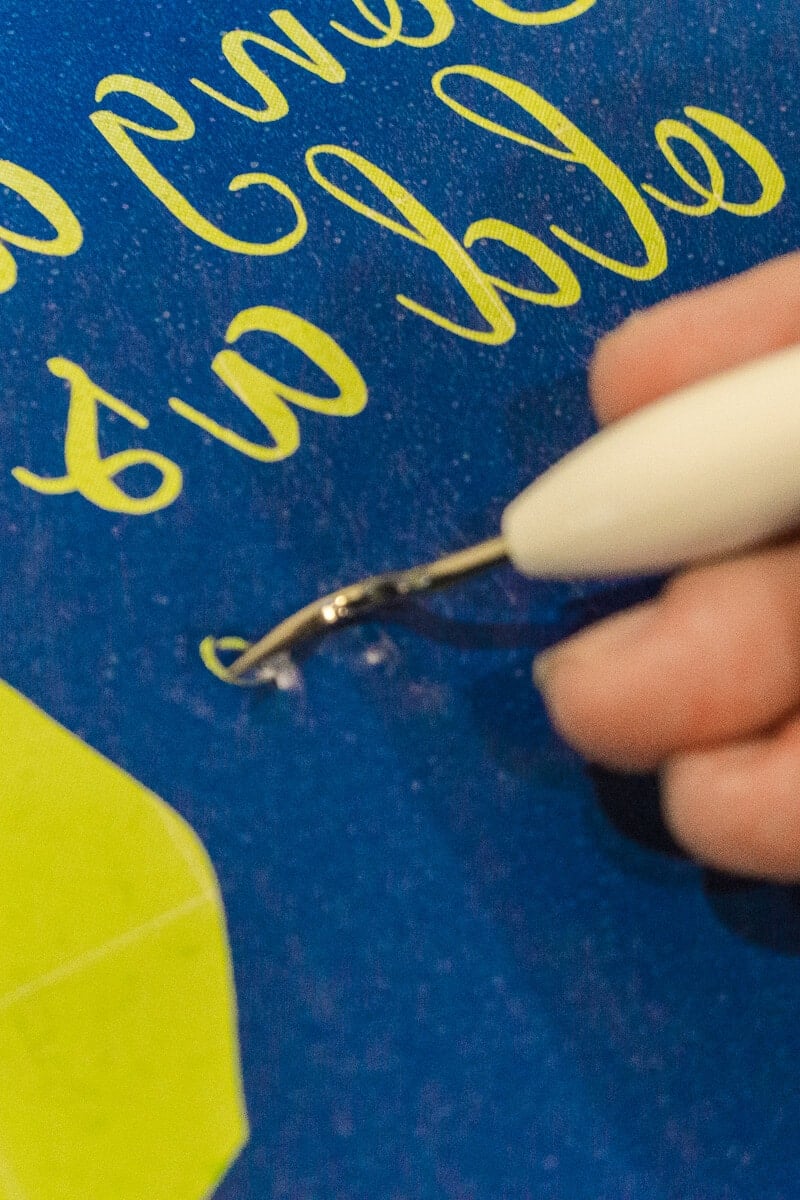
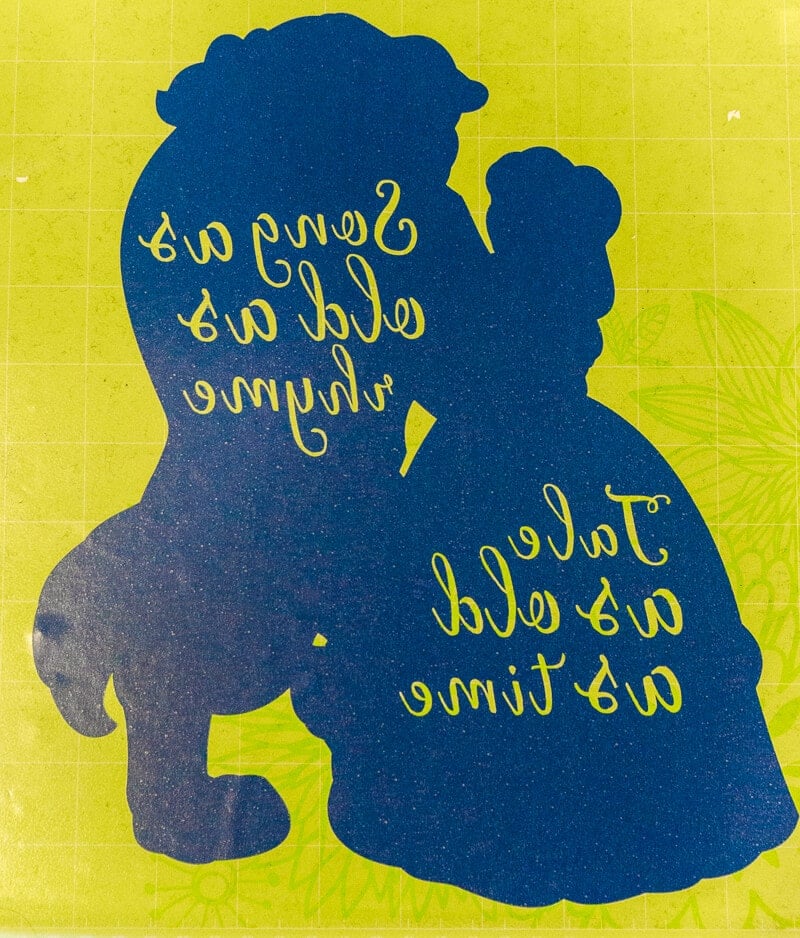
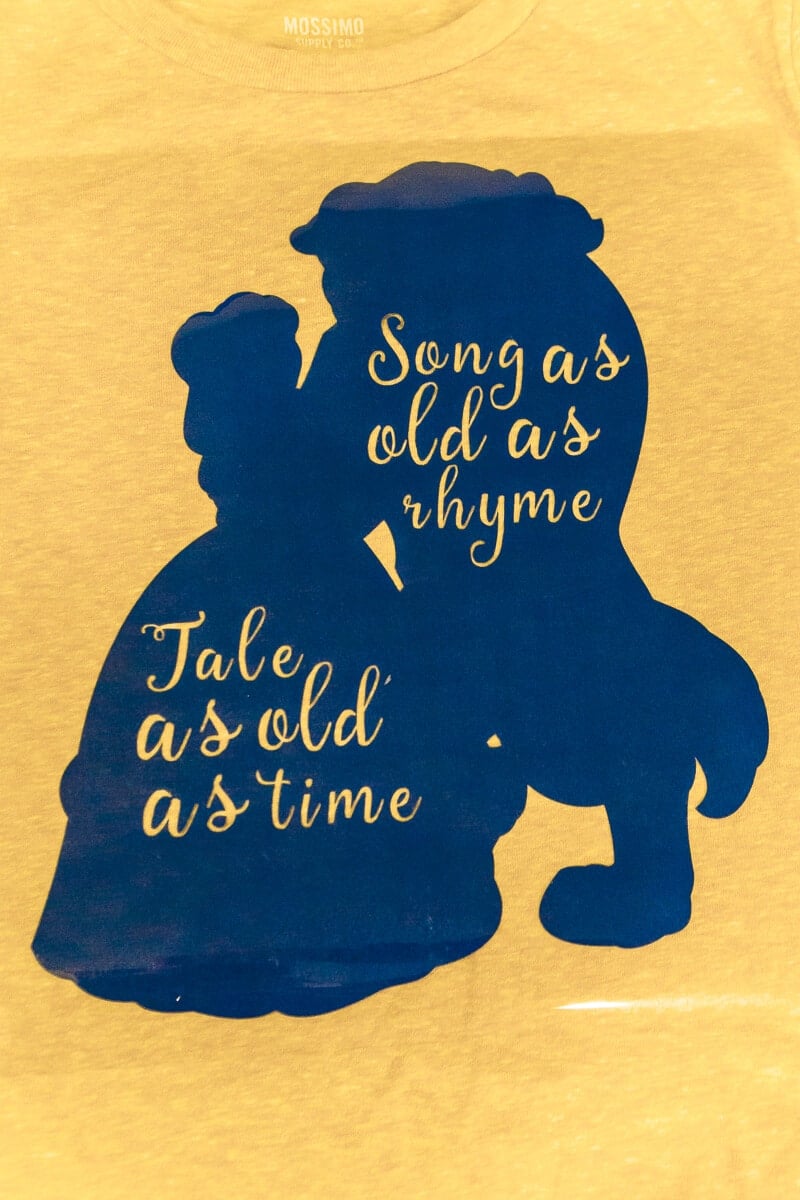
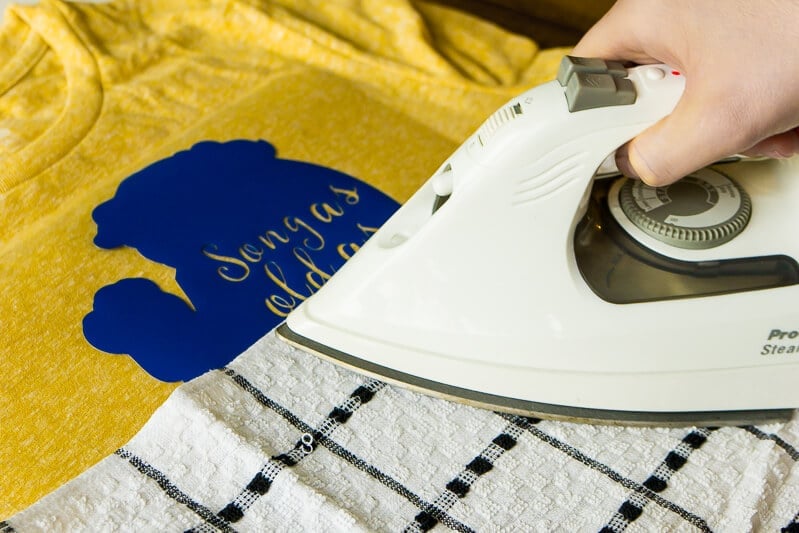
The first thing I did to make these shirts was to check out the Cricut Access Library. With a Cricut Access membership, you receive access to thousands of fonts and digital images to use for projects on your Cricut for free. Or you can pick from a handful of other paid fonts (like I did) to use if you really love them. There are three different options (premium, standard, and fonts only) you can choose from depending on your needs. I definitely recommend checking it out for other projects because there are some gems in there including a ton of Walt Disney digital images! Step 1 – Open the design in Cricut Design Space. I’ve only included already designed SVG files for the Tale as Old as Time shirt and the adventure shirt pictured above. If you’d like to make the chip and beast mode shirts, you can purchase the Beast Mode SVG File here and the Chip SVG file using the links in the supply list above. They’re simple to make if you have those SVG files. For those of you who have asked, I used the font Ink Blossoms for the words “Adventure” and “Somewhere” in my Adventure in the Wide World shirt. If you don’t already have that font, you can purchase it here. It’s a custom hand lettered font that I use all the time! « Tale as Old As Time Shirt Design » « Adventure in the Wide World Shirt Design » Step 2 – Decide on your color scheme. We went with all blues, yellows, and grays to match the movie but you could do whatever you want. Once you have your color scheme, figure out which part of the SVG file you want to be which color. On the right of the design space window, click the eye next to any part of the design that you don’t want to cut with this color, so the only things still shown are the ones you want to cut in the color chosen. So for instance, for my first cut on this shirt, I would hide everything but the Belle and Beauty silhouette at the top and it would look like this. This will just cut that silhouette (and the tale as old as time words out of it). Step 3 – Attach your images to cut. Select all images left on the page and select attach in the toolbar on the right. This will attach your images together so that when you go to cut, they don’t move around. This helps if you’re trying to get spacing right on a shirt with multiple pieces like this one. If you don’t select attach and click “Go” to cut, the images will move around to fit best on the page. That’s a great feature for some projects, but in this case you’ll want to attach them. Step 4 – Place your vinyl onto a cutting mat, shiny side down. Making sure the vinyl is shiny side down is so important because if it’s shiny side up it won’t iron on. If you’re using a new mat, pat the mat on your clothes or a dishcloth or something to get some of the stickiness off before you add your vinyl. A brand new mat can make getting the vinyl off tricky or even impossible without ruining your cut design. Step 5 – Load your mat. Place the mat onto the Cricut Explore Air and set your dial based on what you’re cutting. If you’re cutting the lite iron-on, turn it to iron-on. If you’re cutting glitter, I set it one turn to the right, in between iron-on vinyl and cardstock. Before you cut anything, I recommend doing a test cut any time you’re trying out a new type of material, so everything is setup properly before you try to cut out your entire design. Step 6 – Click “Go” back in the Cricut Design Space to start the cutting process. Once in the cutting screen: Step 7- Weed the cut design. Pull up the non-cut vinyl from around your design and weed out any little pieces using the Cricut weeding tool. If you don’t have a weeding tool yet, get one. It makes getting all those tiny little pieces out so much easier! Your design should look something like this when you’re done weeding. Step 8 – Repeat. Repeat the process above with all of the different pieces of your images (using different colors of vinyl) until you have everything cut. Use the Cricut scissors to cut around each of the images so you don’t have much extra plastic around them; this will make it easier to iron on your design all at once rather than in pieces. Step 9 – Place image on shirt. Place each of the pieces of vinyl on your shirt where you want them to go. If things are overlapping too much, you can do it in multiple stages, but I like to try and get everything on all at once to at least look at spacing first. Step 10 – Iron. Place a very light piece of fabric or linen on top of the design then iron on the design, making sure to focus on the corners of the designs. Once you think you’ve ironed enough, check one corner to see if it peels off easily. If it peels easily, continue peeling the backing off the design. If you come across a spot that isn’t ironed on enough, just lay the backing down again and continue ironing until it all comes off easily. And that’s it, once you’ve ironed on the design and peeled off the backing, you’re done. And you’re now the proud owner of your own custom DIY shirts to enjoy all the best Disney World restaurants!
