I don’t know about you but I love gift baskets. I just think it’s really fun to pick a theme and find creative ways to stick with it like in the good luck gift basket I made for my friend before her marathon last year. There’s just something more fun about putting together a bunch of little gifts in a basket than picking out one big gift. And it’s a really fun way to personalize your gift without spending too much money. I pretty much always put my gift baskets together in the same way and am so excited to share how I do it.
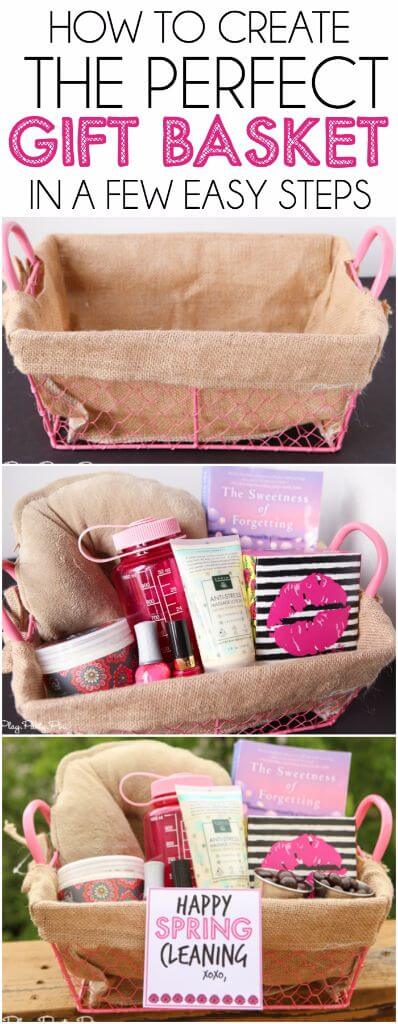
How to Create the Perfect Gift Basket
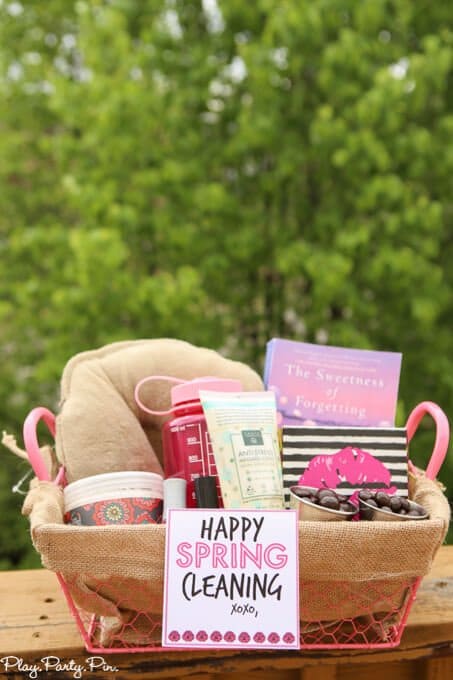
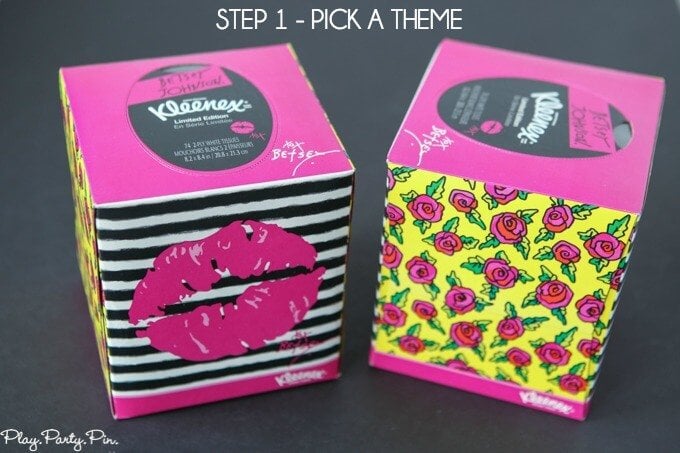
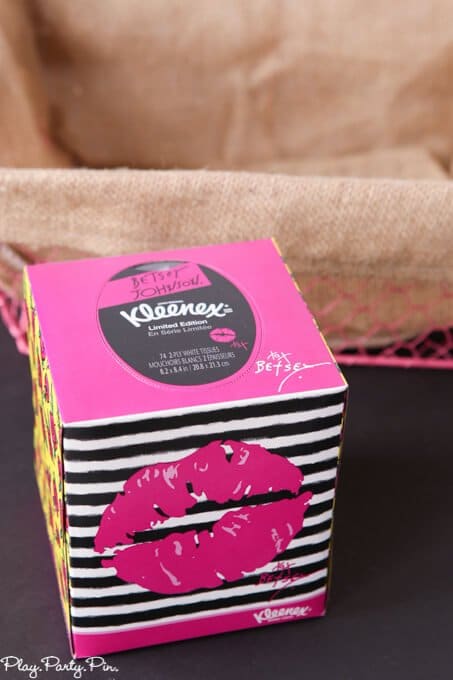
Step 1 – Pick a theme. This is the most important step out of all because it impacts all of the rest of the steps. For this particular gift basket, I saw these awesome KLEENEX® Betsey Styled Single Packs (74ct.) while I was grocery shopping at Harris Teeter and my theme immediately hit me – a spring cleaning basket, or spring “Kleen-ing” basket if you want to get clever with it. I thought it would be fun to give the basket to one of my friends who had a pretty rough winter and needs a fresh or clean start in the spring.
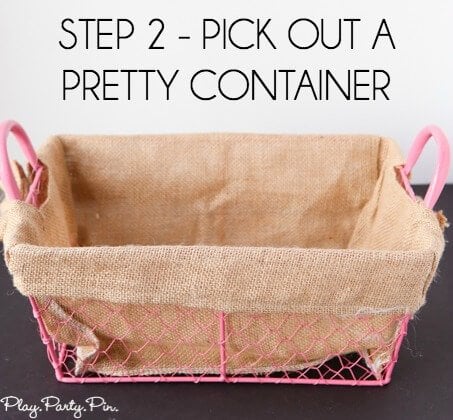
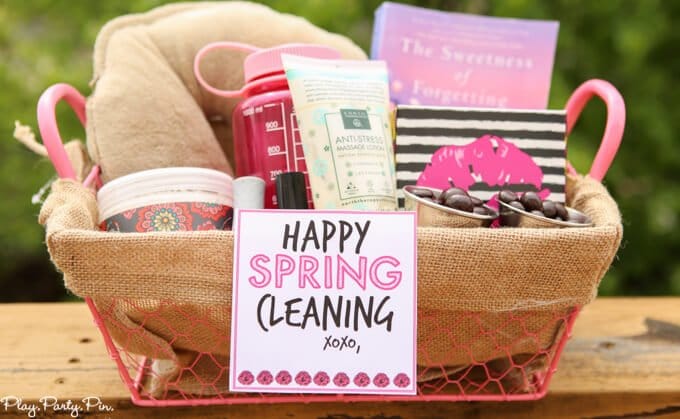
Step 2 – Choose a container. Notice I didn’t say basket. The beauty of gift baskets is that you can actually use whatever kind of container you want. I’ve used wire baskets, boxes, and bags in the past, and they all work great. Make sure to get a container that’s going to be big enough for how many things you want to fill it with. You don’t want to buy a tiny basket if you know you want to include three items that are big as the basket itself. For my spring cleaning basket, I picked up a pretty pink basket that went along with the bright pink color from the KLEENEX® box.
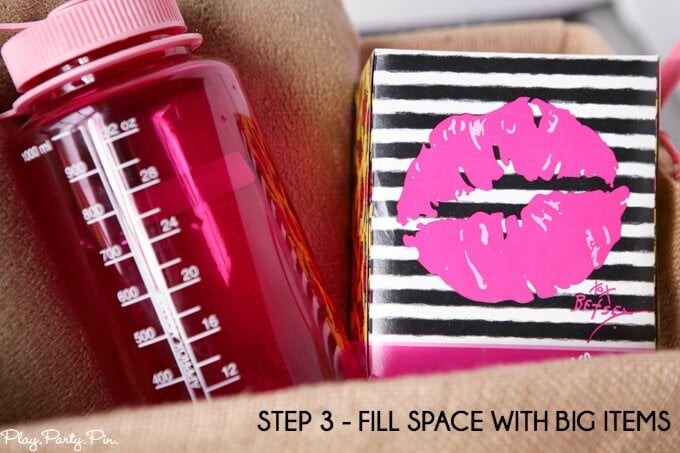
Step 3 – Fill up the majority of the space with large items. Start filling your basket with some bigger items that take up quite a bit of space. These don’t have to be expensive, just things that take up space so the gift basket looks nice and full regardless of how many things you have in it. My bigger items included a water bottle (great for being healthy), my KLEENEX® box, and a book and neck pillow for relaxing.
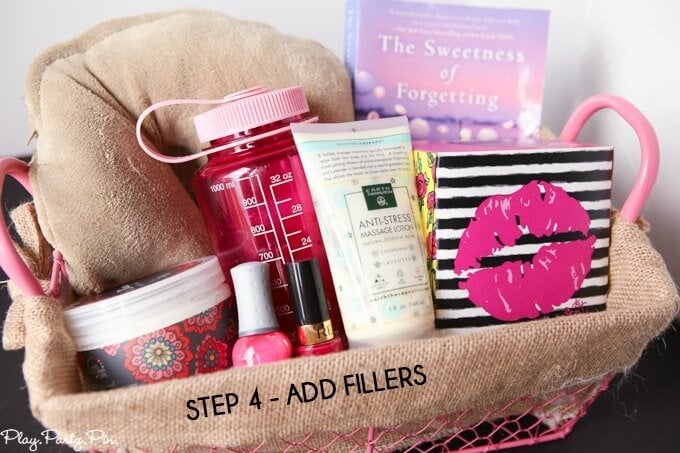
Step 4 – Add small fillers to fill in the blanks. Since you already filled in the majority of the space with big items, now all you need to do is fill in the leftover space with smaller items. When you look at the basket, you want it to appear to be completely full or overflowing, so pick up small inexpensive things to fill in the leftover space. I added pampering items to mine like a body scrub, nail polish, and foot lotion.
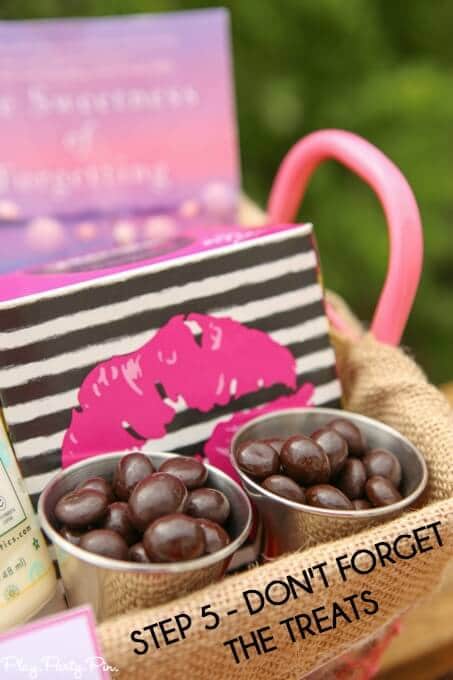
Step 5 – Don’t forget the treats. If you are having a problem figuring out what to put in the gift basket or need another item to fill in space, treats are always a good idea unless it’s for someone you know can’t eat treats. I just added some chocolate covered blueberries that I know my friend loves.
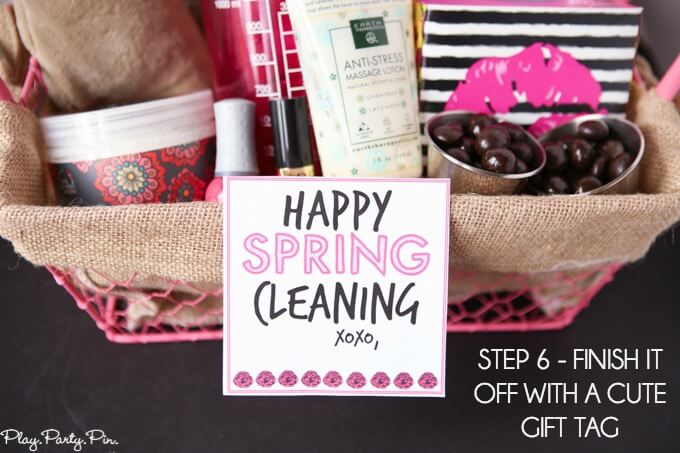
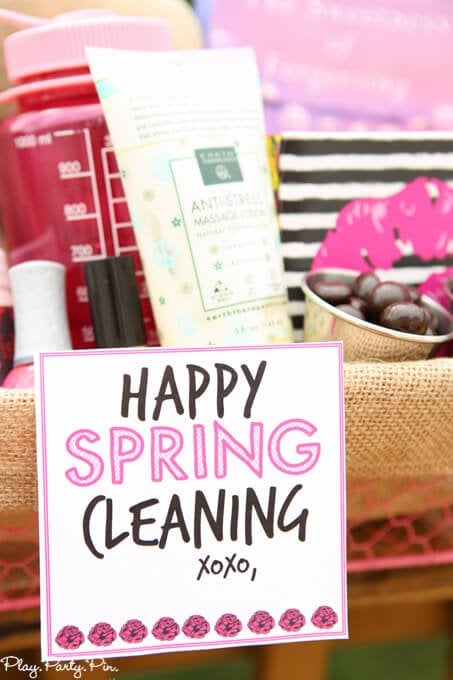
Step 6 – Add a personalized tag. Don’t assume that the person can read your mind and figure out what you were going for with the gift basket. Add a cute little tag to the basket that tells them your theme whether it be a box of sunshine, a spring cleaning basket, or a good luck basket. It only took me minutes to make these free printable spring cleaning tags that match the KLEENEX® box and they really finish off the basket perfectly. Enter your first name and email address in the form below to get the printable. If the form isn’t showing up below, click here to get to the form to download the printable files. «Download the Spring Cleaning printable»
And that’s it, you’ve now put together a gift basket that me or anyone else would love to receive. Keeping these steps in mind, it’s easy to come up with all sorts of creative gift baskets. The spring cleaning theme worked for this basket but I could also have done a fashionista gift basket to go with the zipper design KLEENEX® Betsey Styled Single Pack filled with beauty products, a fashion magazine, and accessories. The possibilities are endless and if you need someone to practice on, I’m happy to receive any and all gift baskets.
What’s the best gift basket you’ve ever received or given?
